I’ve been running into an issue with using the vtkSmartVolumeMapper to visualize datasets that exist in very small ranges. What happens is the opacity changes are very dramatic. If I change the opacity from 100% opaque to 95% opaque, it basically looks invisible.
I’ve encountered a similar issue with ray casting before, and I resolved it by changing the sample distance to something that works better across datasets of different sizes, so I figured that would be a good place to start here as well. Setting the sample distance for the vtkSmartVolumeMapper seems to have no effect whatsoever, though.
I tracked this down in the vtkSmartVolumeMapper class (this is in VTK-8.1.0, but I also confirmed that this still exists on the git master branch).
On line 90 of Rendering/VolumeOpenGL2/vtkSmartVolumeMapper.cxx, LockSampleDistanceToInputSpacingOn() is called on the available mappers. I believe this prevents setting the sample distance from having any affect.
There are two very simple datasets included: TINY_RECT3D.vtk and NORMAL_RECT3D.vtk. The only difference between the two is the coordinates. TINY has very small coordinates that result in the opacity issue I’m trying to solve.
Let me know if you have any issues or questions. Thanks for taking the time to look into this!
FWIW, the vtkGPUVolumeRayCastMapper is what’s being used under the hood on my system. I tried disabling LockSampleDistanceToInputSpacing, and this does allow me to set the sampling distance so that the opacity looks right, but the actual image is then wrong (I only see a single color)… It looks like my initial guess of this lock being the primary issue is probably wrong. I’m not really sure what’s going on here.
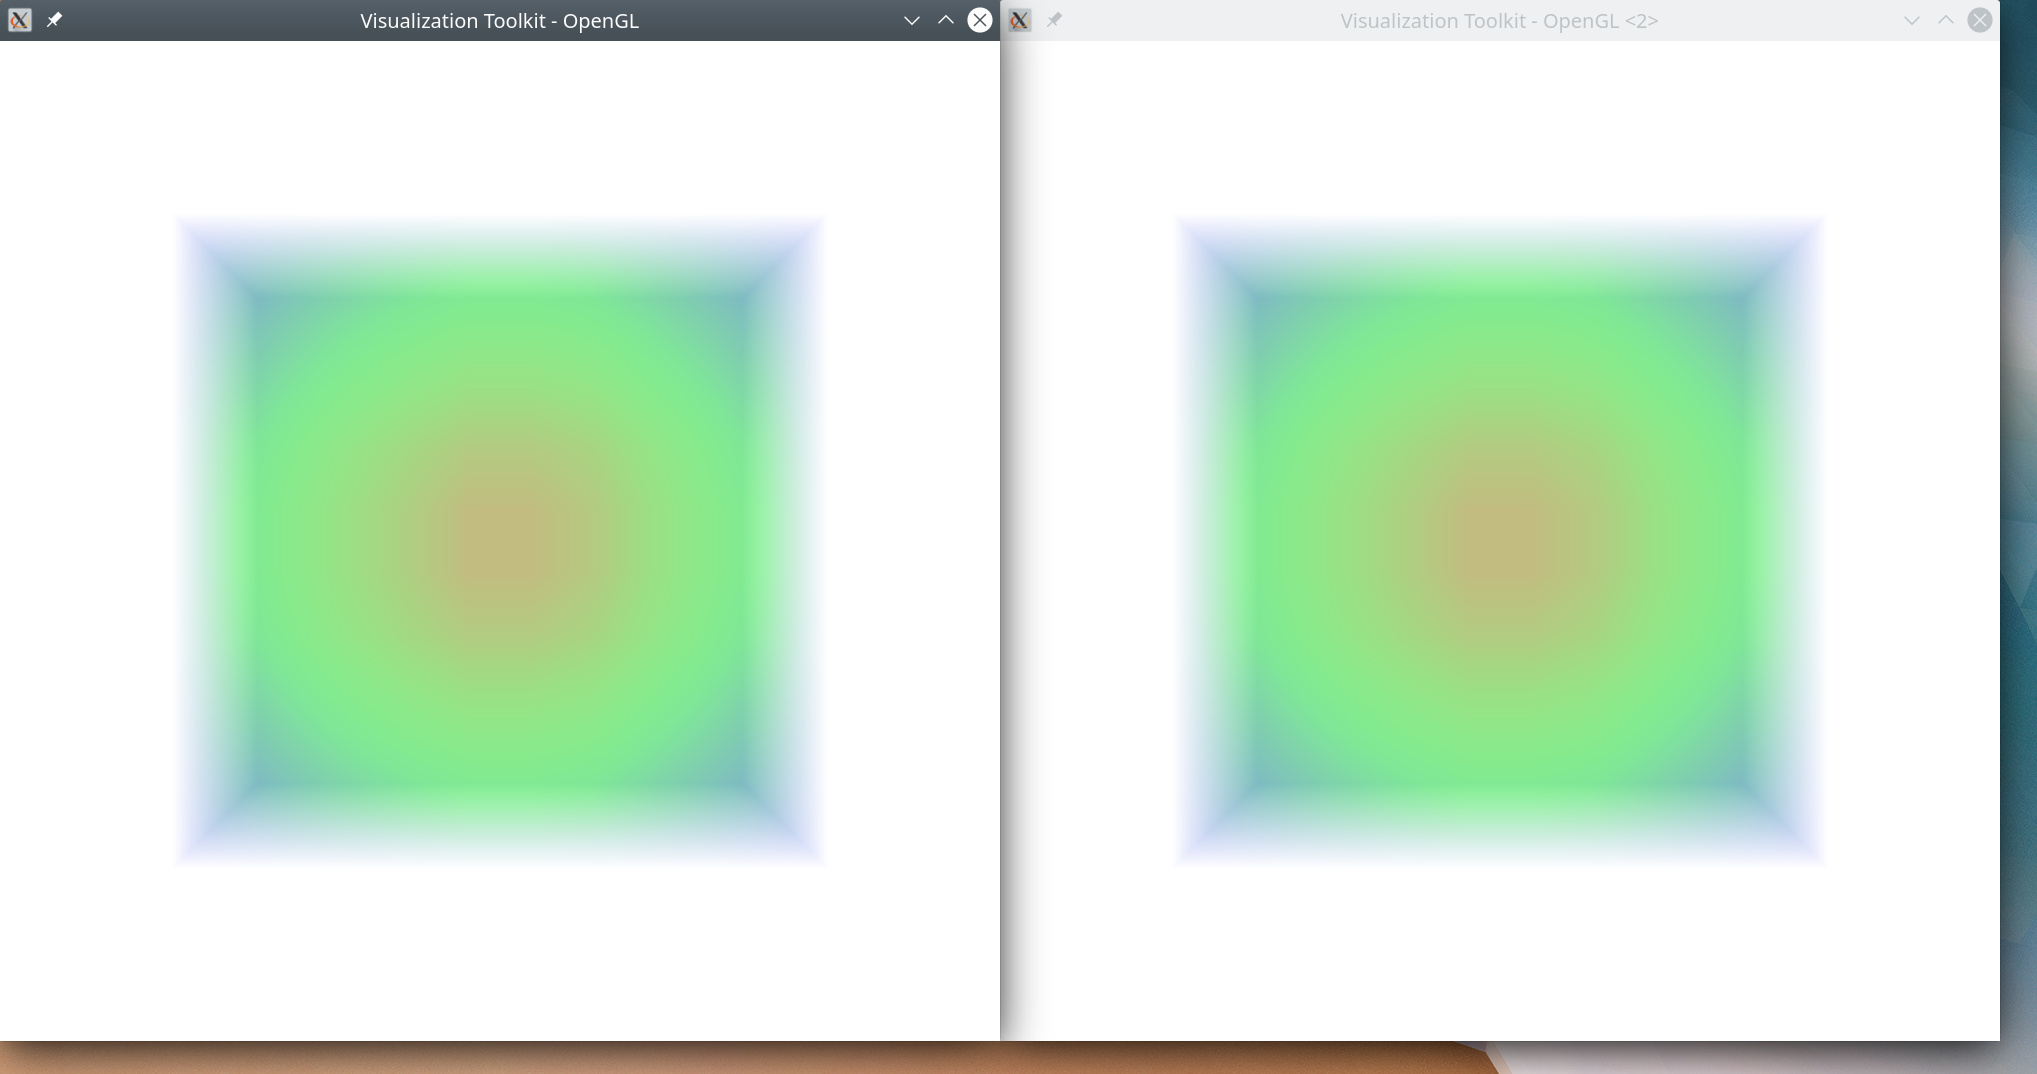
In order for the volume with tiny spacing to be rendered the same, opacity-wise, as the one with “normal” spacing, when rendered using the same opacity transfer function, you would need to set this not to 10, but to SpacingOfTinyVolume / SpacingOfNormalVolume.
From the docs for ScalarOpacityUnitDistance:
By default this is 1.0, meaning that over a distance of 1.0 units, a given opacity (from the transfer function) is accumulated.
So for your tiny-spaced volume, you want this to be set to a very small number, for the renderings to look the same.
There might be a very slight difference in the above pictures still, but I believe that may be down to rounding errors when working with such very small numbers… It may be a good idea to “scale up” the tiny volume before rendering, by adjusting its spacing.
I was able to reproduce your results in the example I sent you, but I can’t seem to reproduce this in my actual application. I think it has to do with the fact that I’m using 2 components (one for scalars and one for opacity) in the image data of my application and then disabling independent components. If I replicate this in the example I sent you, the tiny data is again invisible at lower opacities. Any ideas why this is the case?
Looking closer at the application, though, I think we can get by without setting the second opacity component and just using the volume property’s opacity. Doing this allows the SetScalarOpacityUnitDistance to take effect, so I’ll use this as a way forward. Thanks again!
I just realized there is a version of SetOpacityUnitDistance that allows you to choose a component (no idea how I overlooked that one). Using this version works with setting the opacity component in the image data as well. All is good now!