painting vtkWindowToImageFilter output into QPixmap in Qt widget

I’m trying to use vtkWindowToImageFilter to paint a single view of an object into a widget in my Qt application. The closest I can get is this (still wrong):

    # generate the view
    renderWin = vtk.vtkRenderWindow()
    renderWin.OffScreenRenderingOn()
    renderWin.AddRenderer(self.renderer)
    renderWin.Render()

    # copy the view to an image
    windowToImageFilter = vtk.vtkWindowToImageFilter()
    windowToImageFilter.SetInput(renderWin)
    windowToImageFilter.ReadFrontBufferOff(); # read from the back buffer
    windowToImageFilter.Update()
    img = windowToImageFilter.GetOutput()
    w, h, _ = img.GetDimensions()
    vtk_array = img.GetPointData().GetScalars()
    components = vtk_array.GetNumberOfComponents()

    # DEBUG: save image
    writer = vtk.vtkPNGWriter()
    writer.SetFileName("window_{}.png".format(view.name))
    writer.SetInputConnection(windowToImageFilter.GetOutputPort())
    writer.Write()

    # put the image on the window
    qim = QImage(vtk_array, w, h, QImage.Format_RGB32)
    qPixmap = QPixmap.fromImage(qim)
    window.setPixmap(qPixmap)

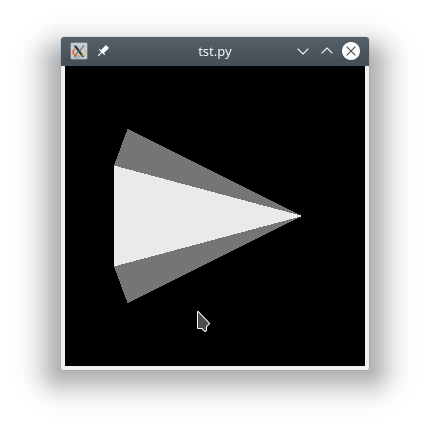
The images are ok when saved, but what I get in the window is a garbled image, because there is clearly a format mismatch between vtk (24-bit image) and Qt (32-bit image), and I can’t find a way to pass the information about the different strides.

Is there a “proper” way to do the conversion, which I haven’t found, or do I have to explicitly convert the buffer to 32-bit, then pass it to QImage? Or else write my own function, porting this C++ example:

https://vtk.org/Wiki/VTK/Examples/Cxx/Qt/ImageDataToQImage

Hi @sbucc,

In your example, change to QImage.Format_RGB888.

You probably also want to do renderWin.SwapBuffersOff(), see https://blog.kitware.com/be-careful-what-you-grab/ for why.

Hope that helps.

I converted your snippet to a full example:

tst.py

import vtk
import sys

from PyQt5.QtGui import QImage, QPixmap
from PyQt5.QtWidgets import QLabel, QApplication

# create cone
cone = vtk.vtkConeSource()

# mapper
coneMapper = vtk.vtkPolyDataMapper()
coneMapper.SetInputConnection(cone.GetOutputPort())

# actor
coneActor = vtk.vtkActor()
coneActor.SetMapper(coneMapper)

# assign actor to the renderer
ren = vtk.vtkRenderer()
ren.AddActor(coneActor)
ren.ResetCamera()

# generate the view
renderWin = vtk.vtkRenderWindow()
renderWin.OffScreenRenderingOn()
renderWin.SwapBuffersOff()
renderWin.AddRenderer(ren)
renderWin.Render()

# copy the view to an image
windowToImageFilter = vtk.vtkWindowToImageFilter()
windowToImageFilter.SetInput(renderWin)
windowToImageFilter.ReadFrontBufferOff(); # read from the back buffer
windowToImageFilter.Update()
img = windowToImageFilter.GetOutput()
w, h, _ = img.GetDimensions()
vtk_array = img.GetPointData().GetScalars()
components = vtk_array.GetNumberOfComponents()

# DEBUG: save image
writer = vtk.vtkPNGWriter()
writer.SetFileName("test_image.png")
writer.SetInputConnection(windowToImageFilter.GetOutputPort())
writer.Write()

app = QApplication(sys.argv)
label = QLabel()

# put the image on the window
qim = QImage(vtk_array, w, h, QImage.Format_RGB888)
qPixmap = QPixmap.fromImage(qim)
label.setPixmap(qPixmap)
label.show()

app.exec_()

Result

tst

2 Likes

@estan, thank you! I don’t know how I managed to miss that format.