Hi VTK-experts,
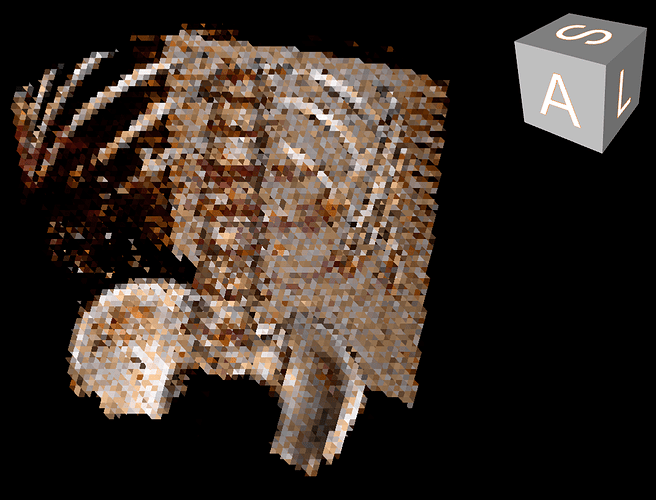
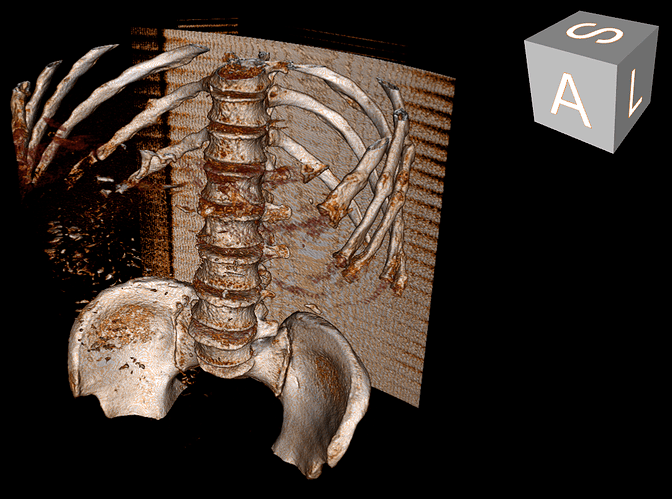
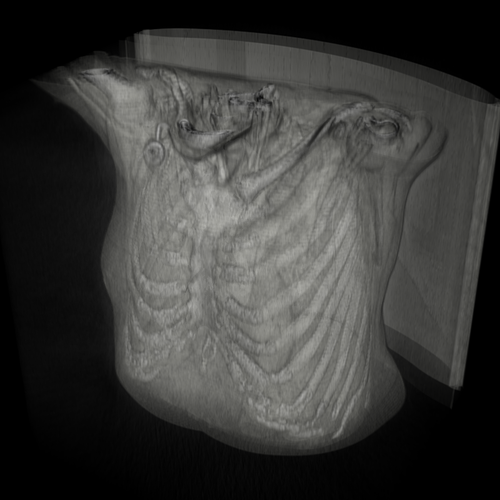
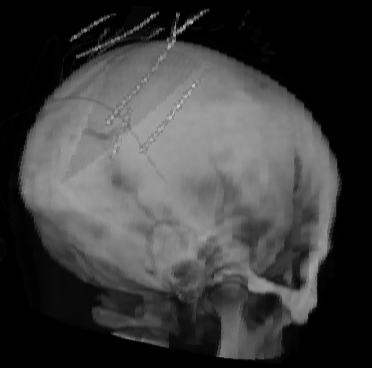
I’m working on an app for viewing CT scans in 3D or 2D. When I initially render the CT scan in 3D, the raycast rendering looks great (see the attached normalResolution.png). However, when I switch from a 2D view (performed via a vtkImageViewer2) back to the 3D raycast rendering, the resolution is low (see the attached lowResolution.png). As soon as I interact with the 3D rendering, the resolution returns to normal.
Can anyone tell me how to fix this? I have AutoAdjustSampleDistance set to “off” on the vtkFixedPointVolumeRayCastMapper that I’m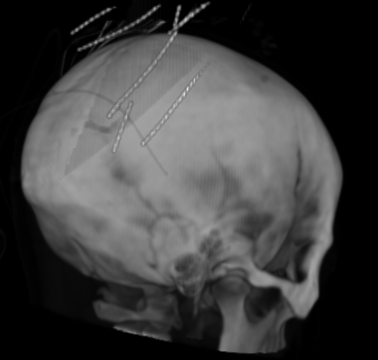
 using for the raycasting. I would have thought that this would keep the resolution of the raycasting constant.
thank you in advance,
-Merps
You may also need to fix image sample distance, for example:
cpuMapper->SetLockSampleDistanceToInputSpacing(false);
cpuMapper->SetImageSampleDistance(1.0);
cpuMapper->SetInteractiveSampleDistance(1.0);
You can also set the render window’s DesiredUpdateRate to a very low value to effectively disable level-of-detail rendering; or change interactor style to not invoke interactive mode related events.
Note that these are all useful features that allow your renderer to work reasonably well in a wide range of hardware environments, so I would recommend to not disable level-of-detail rendering but find combination of values that work well (or maybe have 2-3 quality levels that users can choose from, depending on their hardware capabilities).
Hi.
I have a very similar problem.
I am using the latest VTK v8.2.0 from a Java application.
I am rendering a volume through vtkFixedPointVolumeRayCastMapper.
Even if I set:
======
// Initialize the mapper
volumeMapper = new vtkFixedPointVolumeRayCastMapper();
volumeMapper.AutoAdjustSampleDistancesOff();
volumeMapper.LockSampleDistanceToInputSpacingOn();
volumeMapper.SetBlendModeToComposite();
volumeMapper.SetImageSampleDistance(1);
volumeMapper.SetInteractiveSampleDistance(1);
GetRenderWindow().SetDesiredUpdateRate(0.001);
======
the very first rendering of my volume appears very low resolution:
Then, the first time I interact with the view (mouse drag to rotate the camera), then my rendering restores to high resolution, and remains hi-res from now on:
Can you guess why the very first rendering of my CPU volumer mapper is so low res? How to fix this?
Thanks in advance.
Best regards,
Marco Sambin
Thanks Andras and Marco. I’m using VTK 8.1 in C# and when I implement Andras’s suggestions, I still get the same problem. Here’s a snippet of the code I’m currently using:
var VolumeMapper = vtkFixedPointVolumeRayCastMapper.New();
VolumeMapper.AutoAdjustSampleDistancesOff();
VolumeMapper.LockSampleDistanceToInputSpacingOn();
VolumeMapper.SetInteractiveSampleDistance(1);
VolumeMapper.SetImageSampleDistance(1);
Note that I’m using the default value of ScalarOpacityUnitDistance (i.e., 1), so it should not be affecting VolumeMapper’s ImageSampleDistance.
Do you get lower quality rendering only on the very first render? Does it help if you force a few renderings after you add the volume mapper to the renderer?
Hi, and thanks for your reply.
In my case, just forcing additional renderings does not help. I can even zoom, azimuth, tilt my camera programmatically (pressing buttons on my GUI), but my rendering remains low-resolution until I interact with the scene through the mouse (i.e., through the vtkCanvas interactor).
Ideas about what the Interactor does to trigger the high-resolution rendering?
Thanks in advance and best regards,
Marco
The interactor emits start/end interaction events, you can try to invoke these and see if they make a difference.
Hi Andras,
thanks a lot for your reply.
If I correctly understood your suggestion, it didn’t help in my case.
Here is what I’ve done, in code (consider that I am working in Java, and this code is in the initialization of my vtkCanvas-derived panel):
==============
  final vtkGenericRenderWindowInteractor interactor = getRenderWindowInteractor();

  ActionListener laterGUITask1 = new ActionListener()
  {
    public void actionPerformed(ActionEvent evt)
    {
      interactor.InvokeEvent("StartInteractionEvent");
      interactor.InvokeEvent("InteractionEvent");
      interactor.InvokeEvent("EndInteractionEvent");
    }
  };
  javax.swing.Timer laterGUITaskTimer1 = new javax.swing.Timer(5000, laterGUITask1);
  laterGUITaskTimer1.setRepeats(false);
  laterGUITaskTimer1.start();
==============
In order to ensure that I am invoking the appropriate events, I also added the following Observers on my interactor:
==============
  interactor.AddObserver("StartInteractionEvent", this, "interactorStartInteractionEvent");
  interactor.AddObserver("InteractionEvent", this, "interactorInteractionEvent");
  interactor.AddObserver("EndInteractionEvent", this, "interactorEndInteractionEvent");
==============
and I can indeed see that these events are the ones which are called when I am interacting with my 3D scene through the mouse.
However, explicitly invoking these events in my timer (just to simulate a “delayed” invocation, exactly as happens when I start interacting with the scene through my mouse) does not change the situation: rendered volume remains “low resolution” until I drag it with the mouse. In particular, now that I am observing the interaction events, I can say that the resolution is fixed upon the “InteractionEvent” (i.e., mouse drag). Just pressing (“StartInteractionEvent”) and releasing (“EndInteractionEvent”) my mouse button without moving the mouse doesn’t fix the low resolution issue. Resolution is fixed at the first drag (“InteractionEvent”).
Any other idea about how to fix the initial rendering of my vtkFixedPointVolumeRayCastMapper?
Thanks a lot in advance for any suggestion.
Best regards,
Marco
You can have a look at what happens when you click and drag the mouse and call the exact same methods.
Does rendering work correctly with the GPU volume renderer?
Did anyone succeed in solving this?
I appear to have a similar issue, I need to interact with the render window before the full resolution is achieved. However, I’m not using vtkFixedPointVolumeRayCastMapper however, just showing simple Sphere sources.
I’ve tried invoking events as:
render_window.Render()
render_window_interactor.Initialize()
render_window_interactor.InvokeEvent("StartInteractionEvent")
render_window_interactor.InvokeEvent("InteractionEvent")
render_window_interactor.InvokeEvent("MouseMoveEvent")
render_window_interactor.InvokeEvent("EndInteractionEvent")
render_window_interactor.Start()
However, no success, the initial image is very low resolution.
Hello, is there a solution for this problem?
I met the same problem when using the Medical Demo #4 to visualize some CT scans. I wish to rotate the camera and save a series of PNGs. But the saved PNG was also low-resolution like 8-bit pixels.
Since rendering is intended for display, the bit depth is 8 bits per channel, for RGBA channels. So, 8-bit pixels are normal.
The quality of the image above is low due to large image sampling distance. This is not a bug, but a feature that allows fast rendering at the cost of loss of quality. You can turn off this feature by disabling adaptive setting of sampling distances.
Hi Andras, Thank you for your quick reply on a weekend!
I tried to set the sample distance to 0.5 or even 0.1. But the image quality was still low.
    volume_mapper = vtkFixedPointVolumeRayCastMapper()
    volume_mapper.SetInputConnection(reader.GetOutputPort())
    volume_mapper.AutoAdjustSampleDistancesOff() # I tried SetAutoAdjustSampleDistances(0), too
    volume_mapper.SetSampleDistance(0.1)
I also tried ren_win.OffScreenRenderingOn() to skip the display of the rendering window, in the hope that this “fast rendering feature” doesn’t engage. But still got a low resolution output.
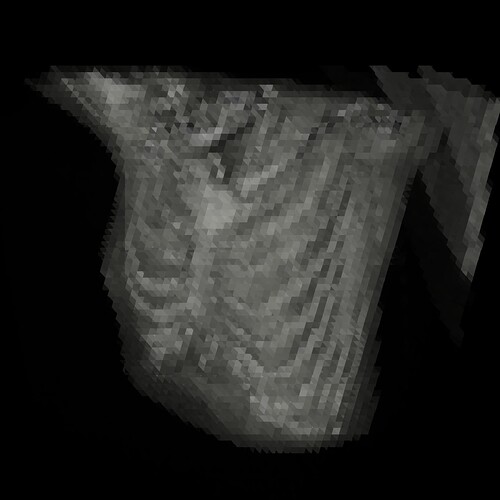
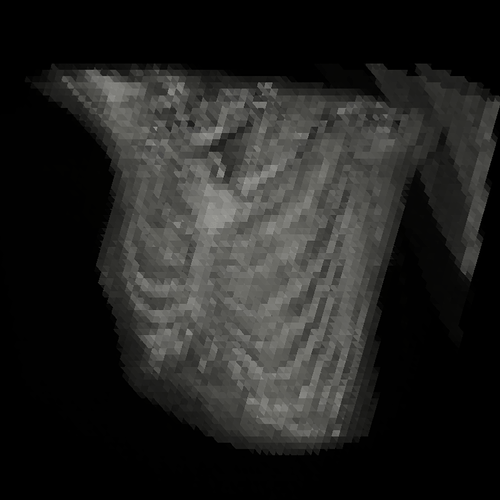
My VTK version is 9.3.1. The comparison of the image quality before and after interaction is attached below. Please advise. Thank you!
Aha, I found the reason. It’s the clipping range of the camera. The clipped CT scanner bed was the clue.
Since the CT image is large in size, I have to set the camera position 1000 (I assume the unit is mm) back to see the full picture. But the default clipping range of the camera is (0.01, 1000.01), so part of the volume is clipped off. I set camera.SetClippingRange(1.0, 1200.0) and the initial image looked as crispy as it could be after interaction. I don’t know exactly why the clipping made the image low resolution. Maybe the clipping messed with the ray casting algorithm for the initial rendering, while the interaction reset the clipping range according to the volume size.
Thanks again, @lassoan ! Maybe it’s a good idea to set clipping range adaptively by default?
It is good to hear that you get good quality rendering now, but setting the clipping range may have just accidentally helped (e.g., it may have triggered an additional rendering, so the adaptive rendering could determine correct settings).
If you want to fully control the quality of the rendering then you can set sampling distances explicitly. Note that SampleDistance is not the only sampling distance. Setting ImageSampleDistance is just as important.
